
Welcome
I really started The Outdoor Gems to share outdoor experiences through photography and storytelling to inspire more people to get outside. If more people got outdoors; took a walk, hike, went snowboarding, sat around a campfire, and surfed in the ocean, I think the world would be a better place.
-Jeremiah
The Latest

Top twenty One Early Season Snowboarding Tips
So you’ve been waiting for the season to start the past couple months, or maybe the whole summer lol. Snowboarding is quiet possibly one of the most..
Disclosure: When you buy something through the Affiliate product links I have created below, I earn a small commission. I only promote products and companies I support as well as believe in
So you’ve been waiting for the season to start the past couple months, or maybe the whole summer lol. Snowboarding is quiet possibly one of the most fun activities to do and depending on where you live, you only get to enjoy it during the winter months (unless you live near an indoor snowpark). That’s what makes riding so special, and has most winter enthusiasts anticipating for colder temps, the newest board, and deep powder days.
Whether your a season veteran or this will be your first year riding a snowboard, there’s always advice or tips that could make the start of your season more enjoyable! In this post I came up with twenty tips to keep in mind for the start of your season. Alright, lets get started.

What is considered Preseason
Preseason is the portion of winter where not much terrain is open and depending on how much snow falls early on, a lot of the snow is man made. Meaning they blow snow onto the runs with a machine, once temperatures start to drop. There’s usually only a few runs open and sometimes at resorts, they have only one run open, nicknamed the white ribbon of death.
Early season is typically the first month and a half of the season, before snow starts to cover most of the resort. At higher elevations ski resorts typically open around Mid to Late November with some resorts open in October in places such as Colorado and even the midwest!
Which ski resorts open the earliest
There’s actually a number of resorts that start turning there lifts pretty early in the season. Because of the higher elevation in Colorado resorts such as Abasin, Wolfcreek, Loveland, and Keystone will be some of the first resorts to open in North America. Kind of crazy, but the midwest has resorts opening in October too. Wild Mountain in Minnesota and Troll Haugen in Wisconsin can open really early if the weather permits. Mammoth in California, Brighton in Utah, and Breckenridge also typically open early November.
Twenty early season tips
Tune your snowboard- If your board has been sitting in your garage or storage all summer long, give it a fresh wax, sharpen the edges, and fix any minor repairs. Tuning the board will allow you to ride smoother down the mountain and overall will increase the longevity of it. Also make sure to check all of your binding screws! For more info, check out our blog post on Waxing your snowboard, for a complete guide.


2. Repair your gear- There’s always a chance that you cut your jacket or pant on an edge, tree, or ice. Purchase Gear tape at your local outdoor store or REI and this stuff will prevent you from having to buy new outerwear. It’s also a good idea to check all of your binding straps and buckles. Keep extra parts on you when riding, as you never know when something will break. Local shops usually have spare parts, but sometimes they run out!


3. Sell your old Gear- If you want the latest gear yet still have great stuff from previous seasons take it into a consignment store or sell it on Ebay. Facebook groups are also great places to sell old gear. Consignment stores will take a percentage of the sale vs if you sell it on your own. However, the nice thing about consignment shops is sometimes they can give you cash on the spot. You also don’t have to deal with trying to sell the gear in your spare time.

4. Wear a helmet- I never use to wear a helmet, but the older I get, the more I realize how important it is to throw on a brain bucket. As the old saying goes, it’s cheaper then a cat scan. Helmets will all meet the same safety standard, so it’s going to come down to comfort and then style. Measure the largest part of your skull in cm, and that will tell you what helmet size you are. Helmets will all fit differently, so it’s best to go into a store to see what works best. However if you can’t do that, measure your head and then purchase one online with a good return policy.


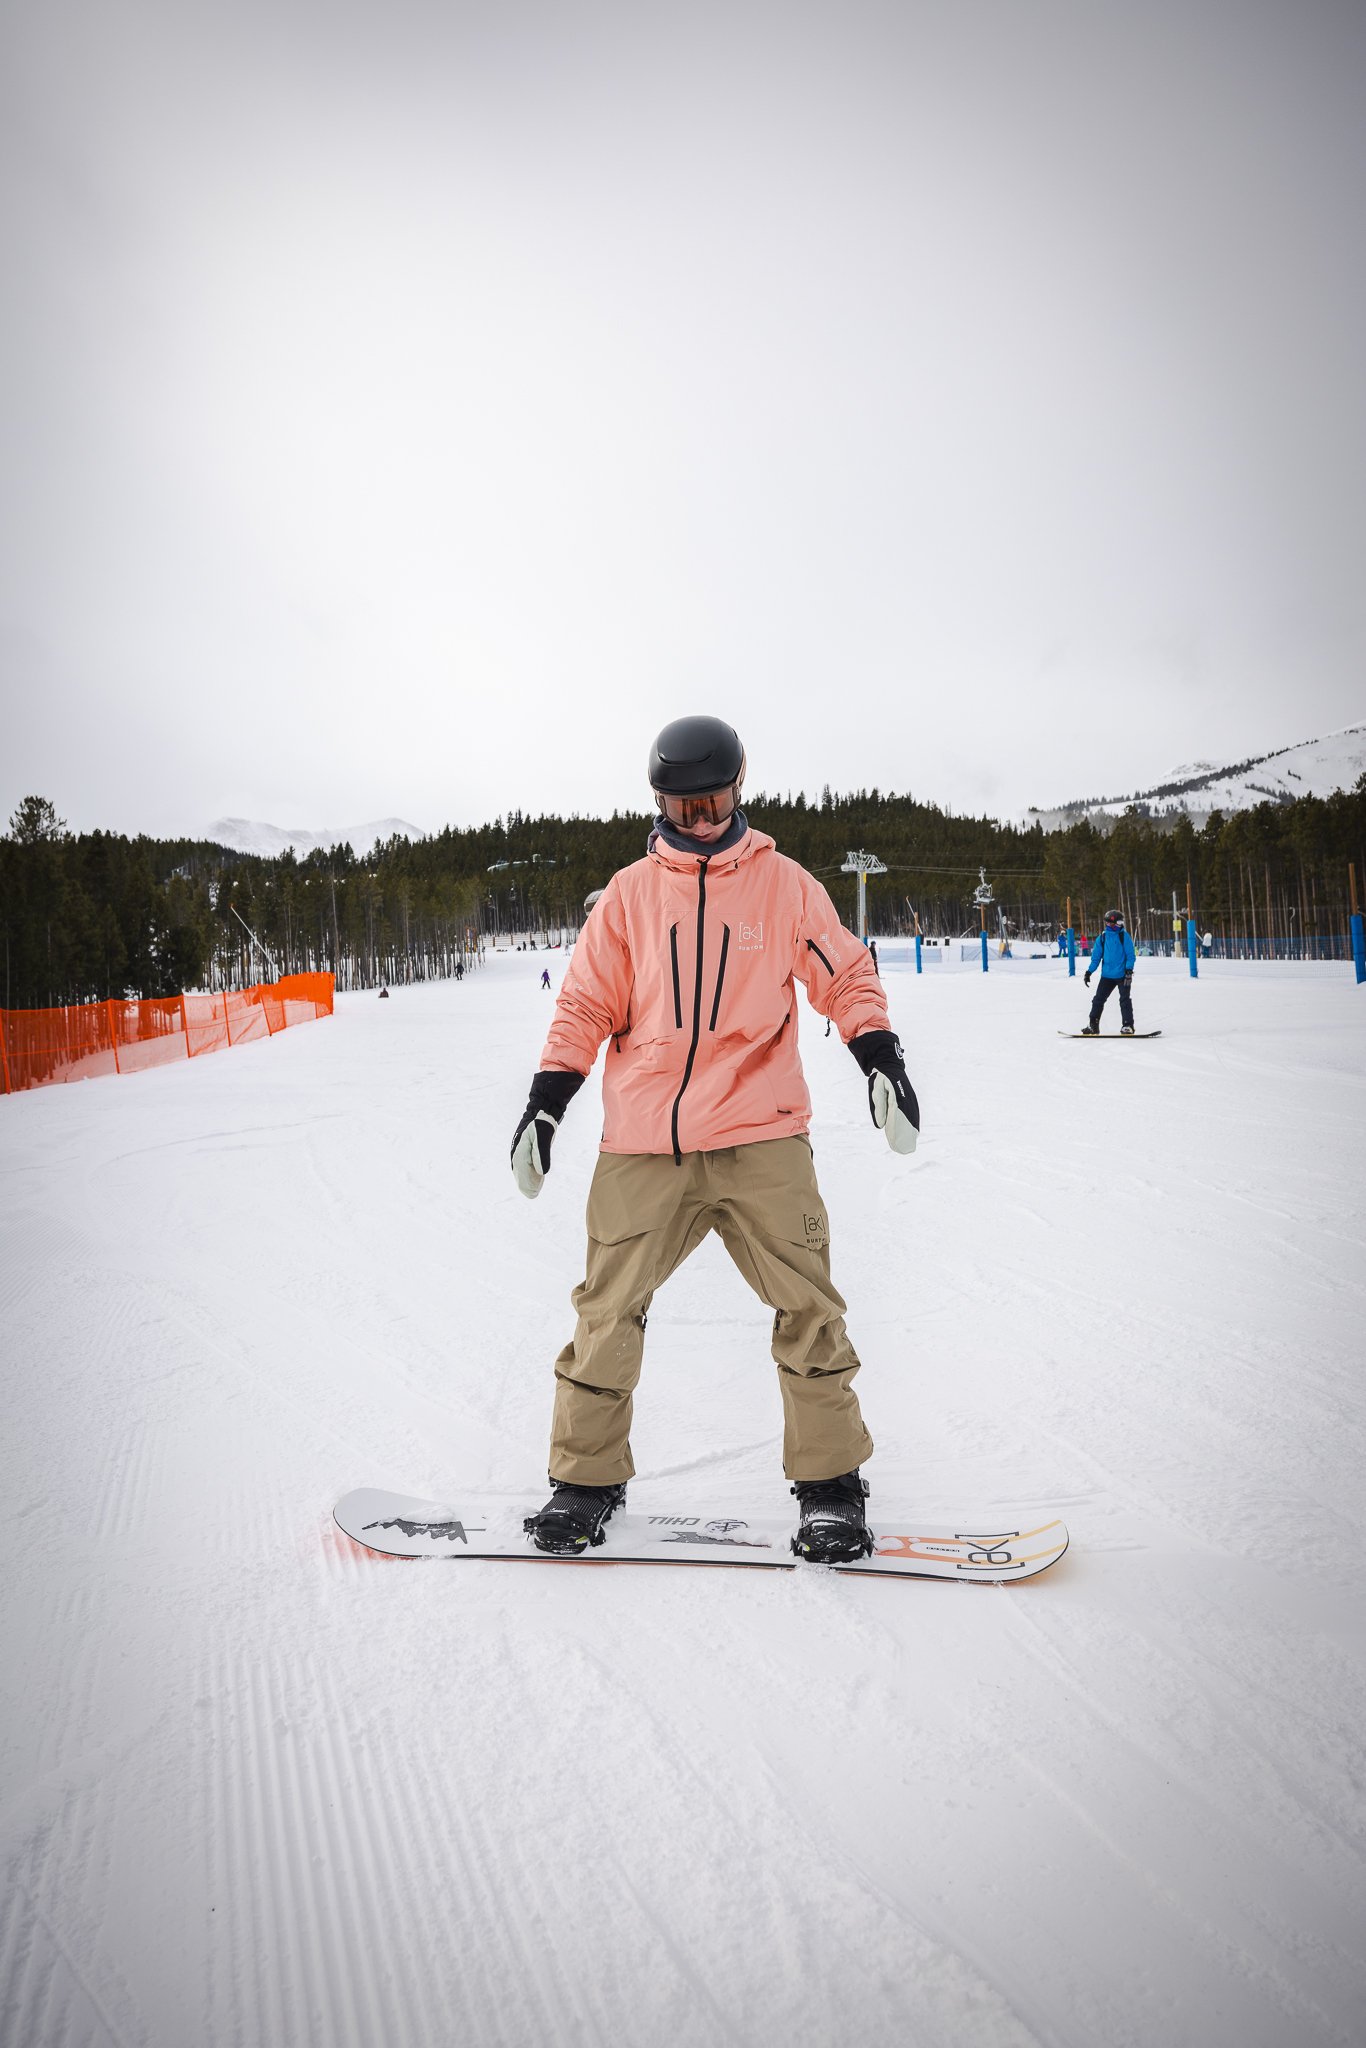
5. Set up your board properly- If you’re new to snowboarding, it’s important to have a stance set up that is comfortable! Figure out if you are regular (left foot forward) or goofy (right foot forward) and then determine your stance width and angles. Everyone is different so therefore, choose what set up is best for you. Typically you want the width to be a little wider then shoulder width and your binding angles to be more open.
If you want to practice going switch (opposite of your natural stance) or like riding rails equal angles on both bindings works great. These angles can be 6 and -6 or 12 and -12. If you like to carve or want a stance that is more natural then angle your front foot out more then your back foot.


6. Talk to your local snowboard shop for the right gear- Your local snowboard shop will be able to point you in the right direction for the right gear. It’s important to get the right gear based on your size, riding style, ability level, and what terrain you’ll be snowboarding on. If you don’t have a local shop, wholesalers and snowboard shops have websites to purchase gear. You can reach out to them with any questions you might have on the latest product.


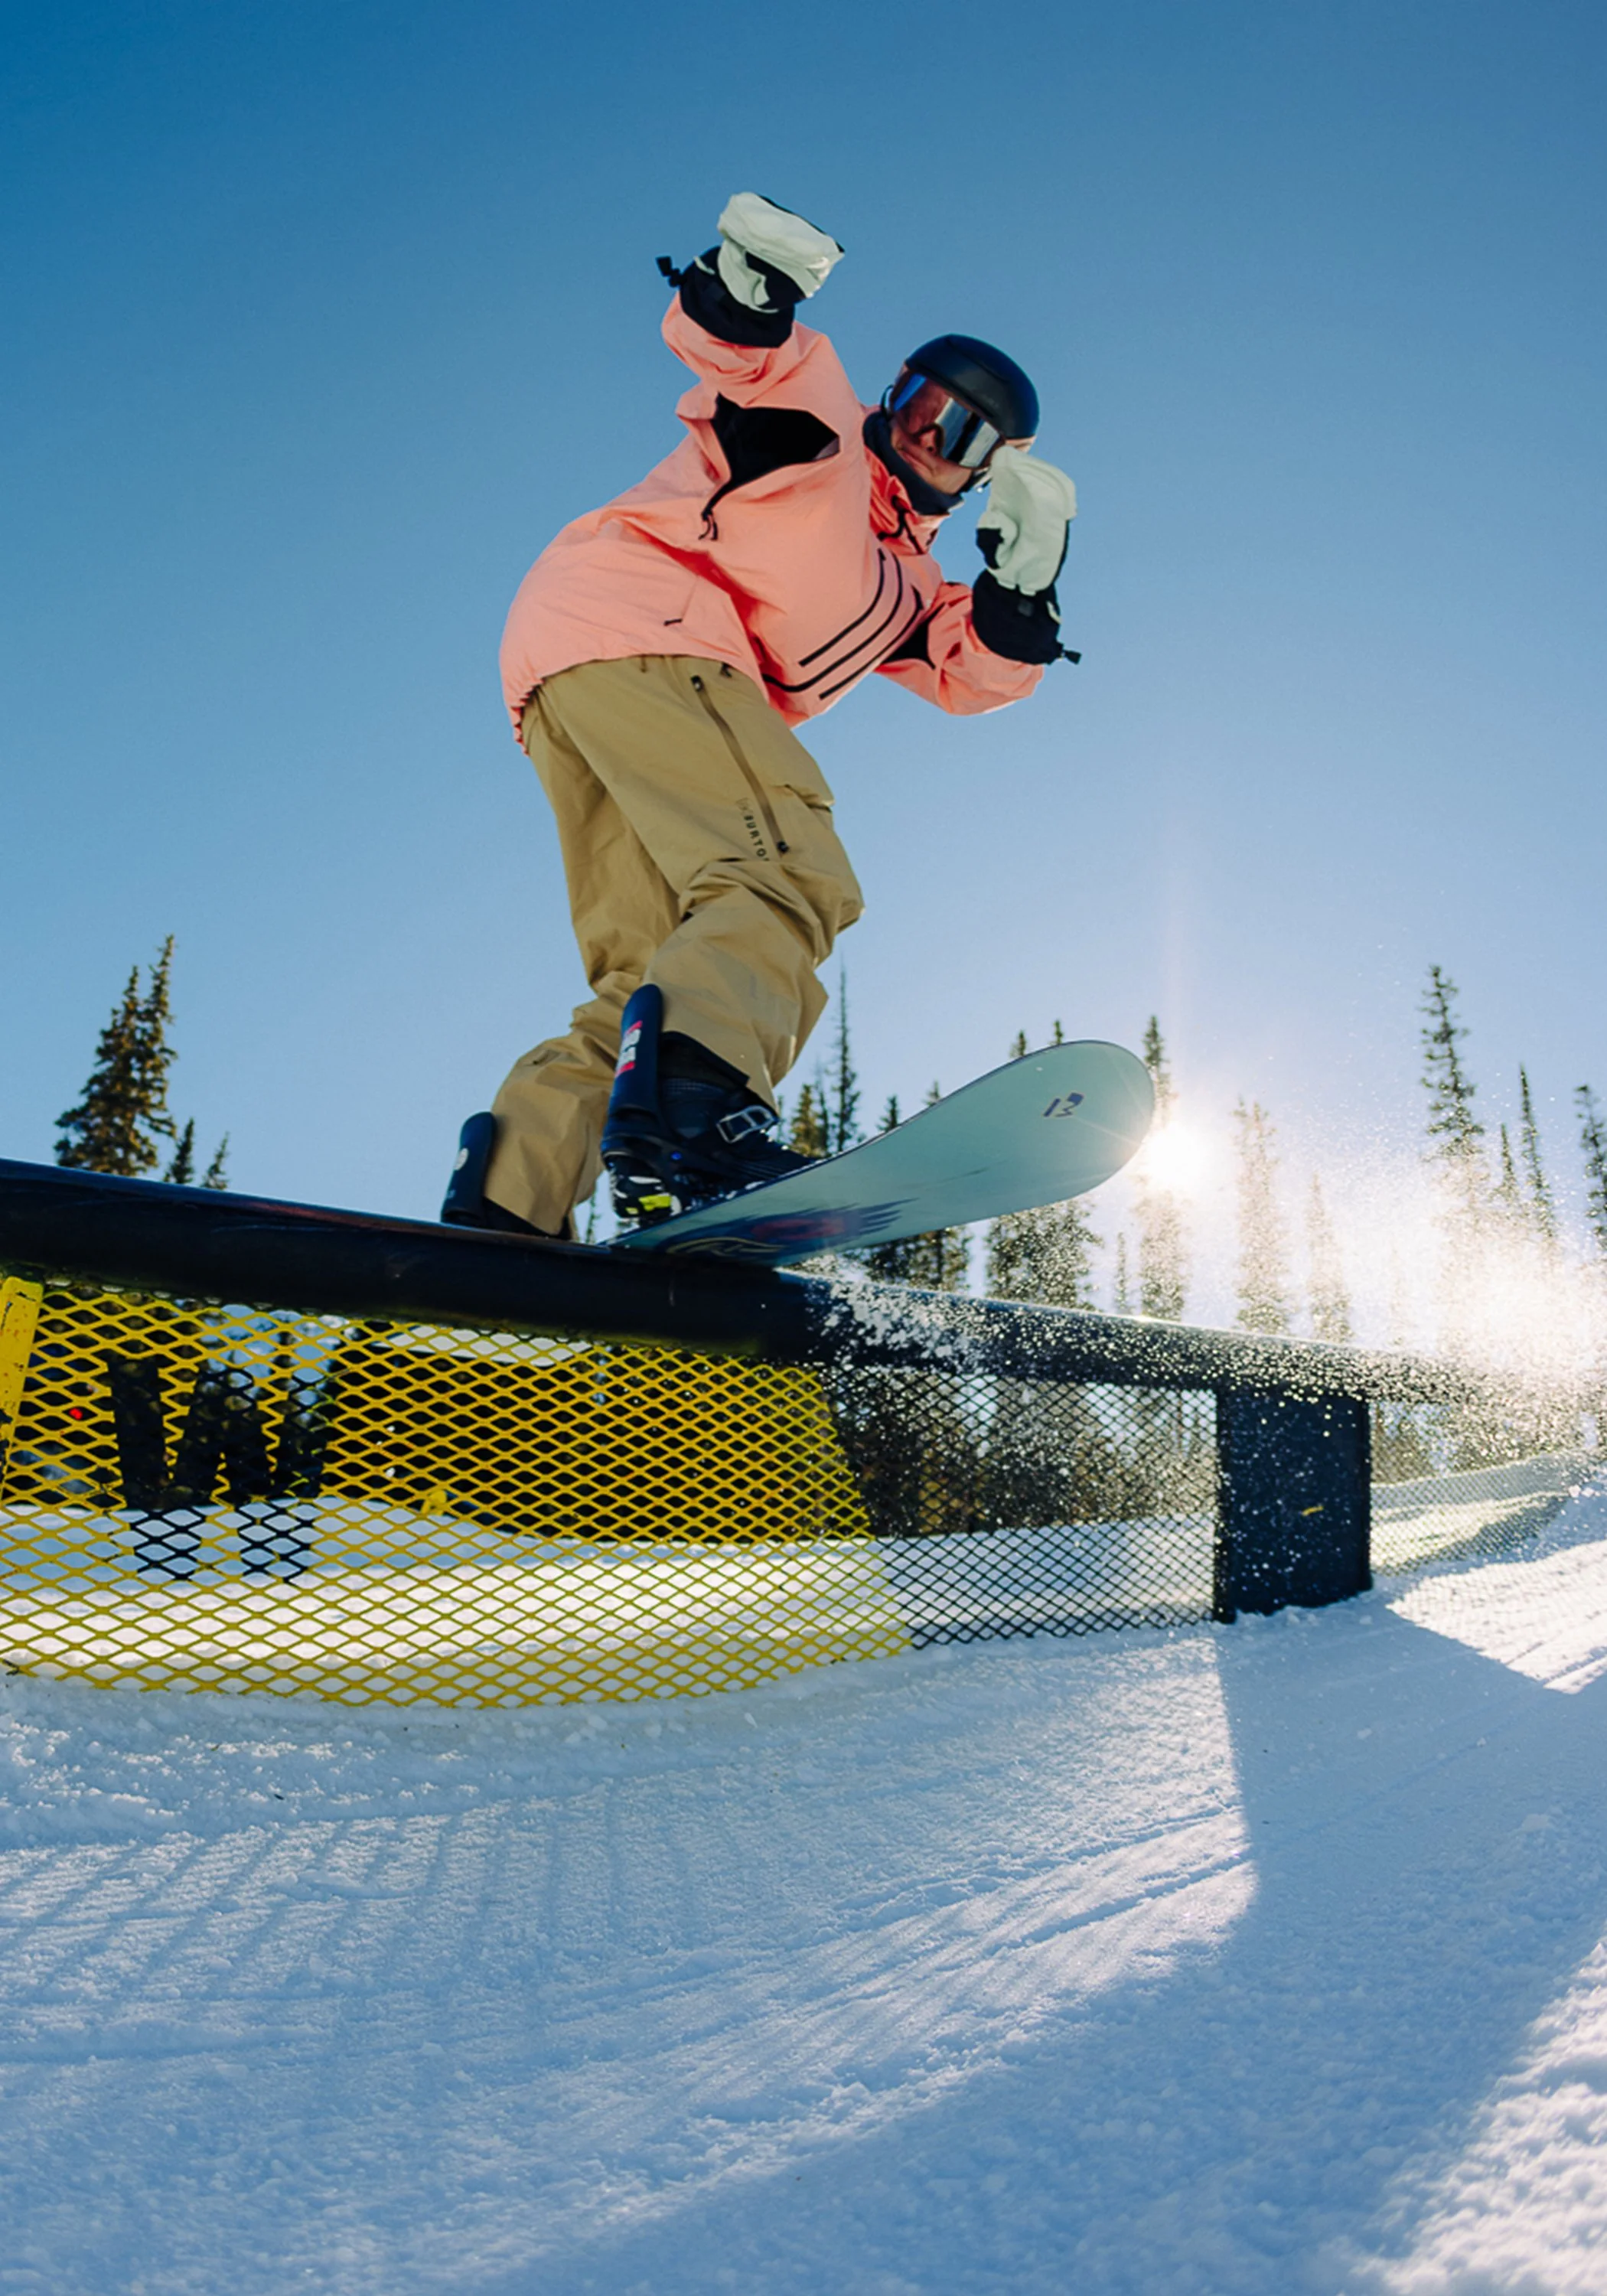
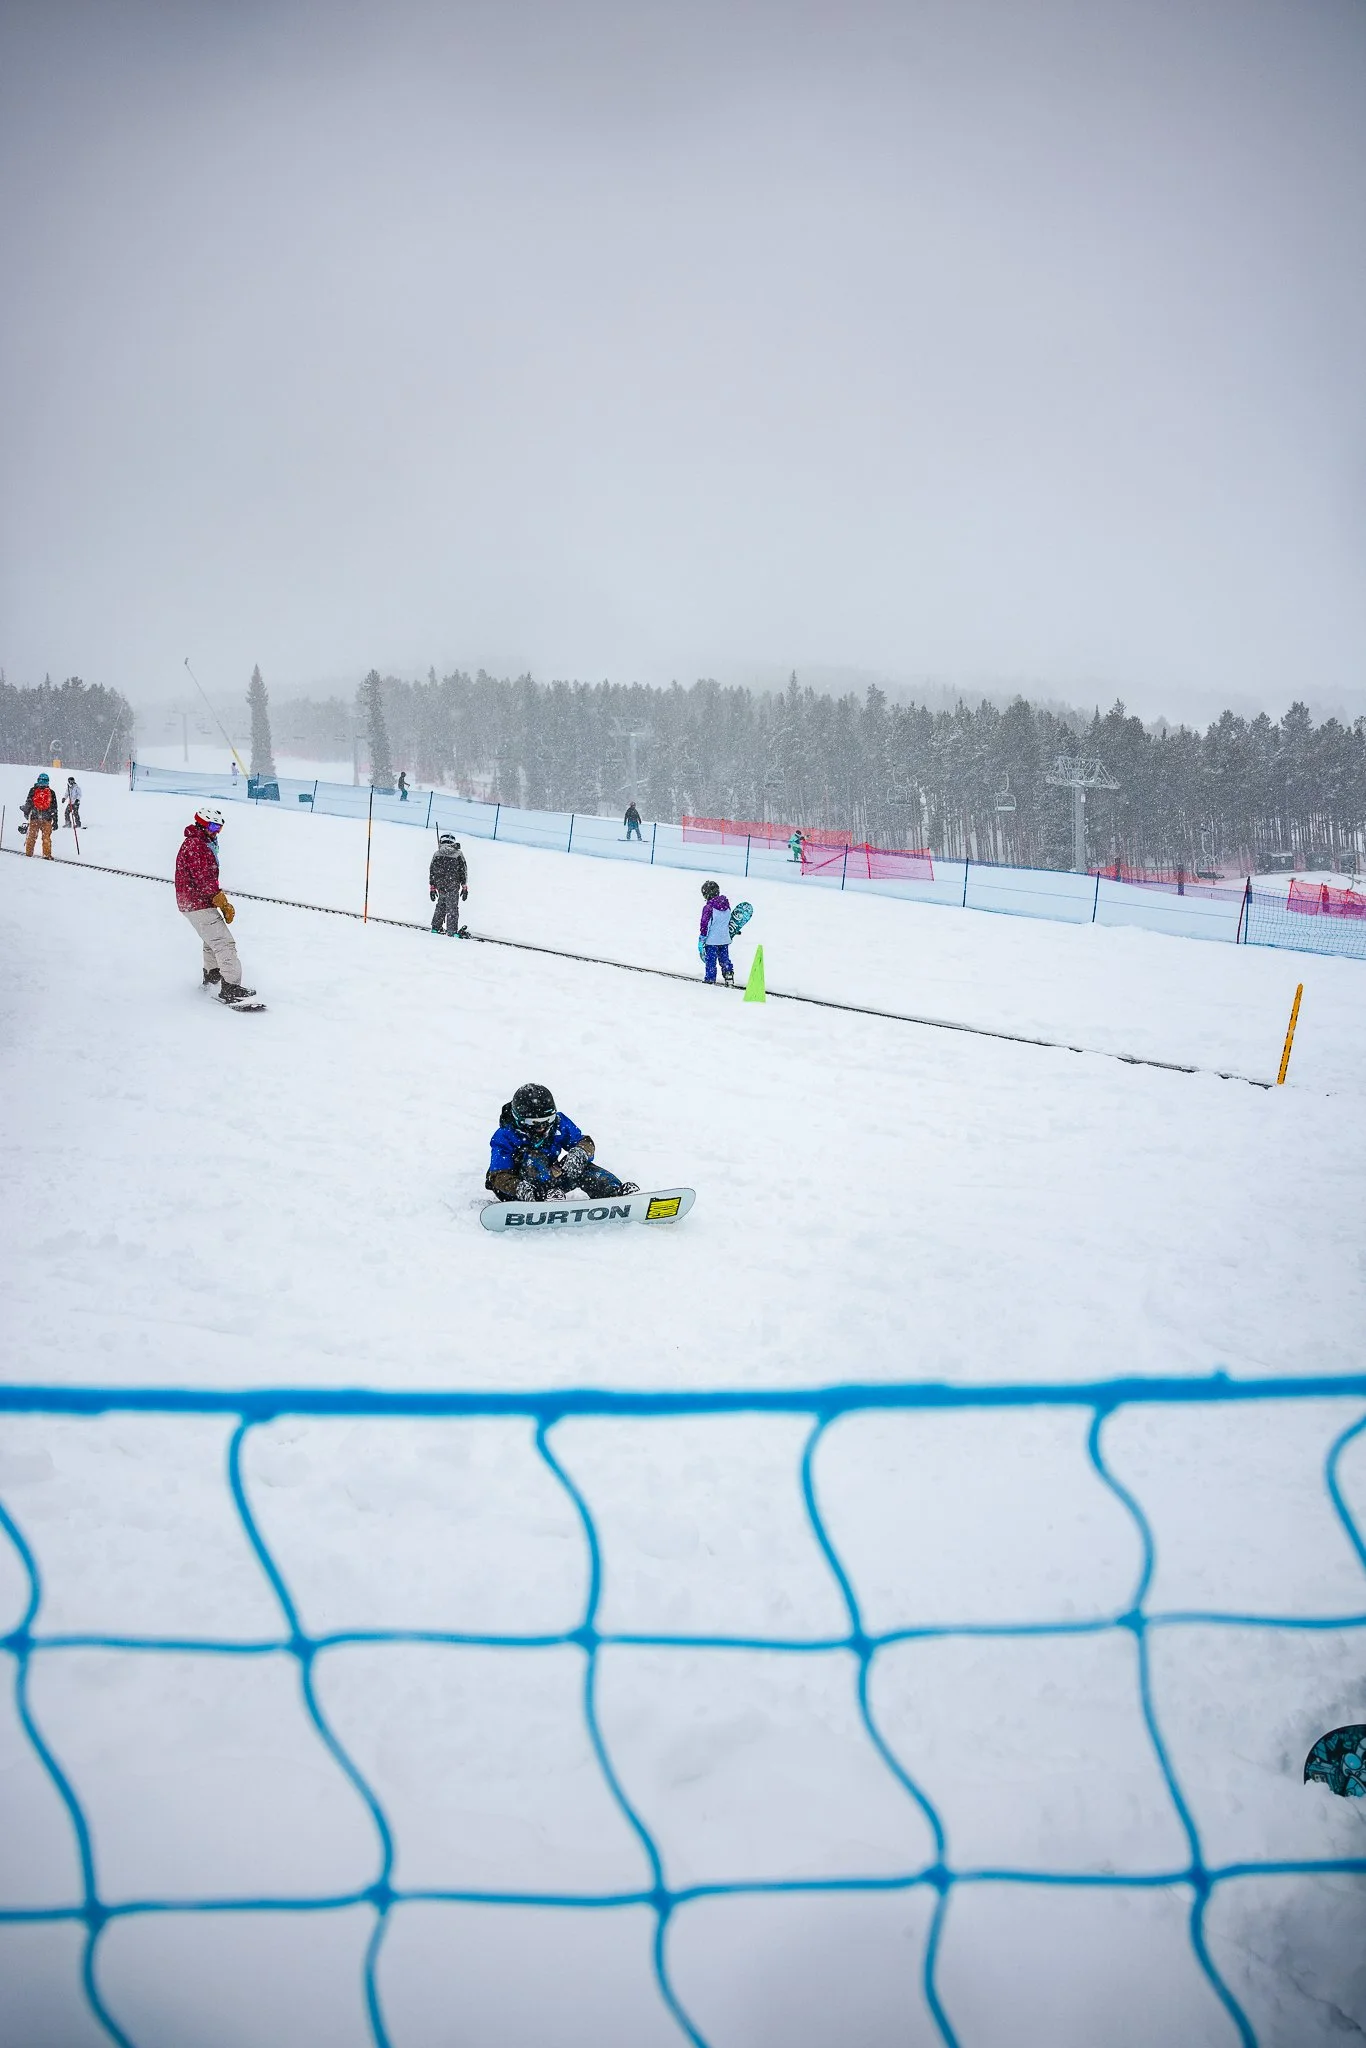
7. Start small in the Terrain Park- The terrain park is essentially a playground for snowboarding. If you’re new to the park or if you haven’t been on a snowboard for months, warm up on smaller features before you try more difficult tricks. Resorts will typically set up smaller features in an early season park that you can hike, to get the muscle memory back!

8. Ride the resort on weekdays- I know this isn’t possible for everyone, so if you do go on weekends, arrive as early as possible to find parking and get up the mountain quicker. What I have found when riding weekends is the base area gets very crowded, but once you take the lift up and ride different parts of the mountain, the lines aren’t as bad. The problem with early season is, not many trails are open yet, therefore weekdays will be the best time to ride and get the most laps!


9. Take it slow and watch out for other people- Because less runs are open there will be more people on one run. Just make sure to watch out for other people and avoid being reckless on the mountain. The person in front of you always has the right of way, regardless!
Remember snowboards are meant for turning, not straight lining down an icy run. It’s important to have good control of your board when riding. There’s no right way to turn your board, incorporate your own riding style and have fun with it.

10. Ride an older board and keep an eye out for rocks and exposed terrain- Early season isn’t a good time to whip out the new Burton Custom! Even though I have done that before lol. The best thing to do is ride an older board if you can because there is usually exposed terrain that can damage the base of your board pretty easily. Rocks, trees, and other peoples boards/skis are all things to watch out for during pre-season!


11. Have the right tires and a winter emergency kit in your car- October and November can sometimes bring winter storms. Colorado can start seeing snow as early as late September! Make sure to prep your car for winter towards the end of summer or beginning of fall. It’s important to have either snow tires or all weather tires when driving to the mountains. It’s also really helpful to have an AWD vehicle. In states such as Colorado and California, there are traction laws and failure to have the proper tires as well as traction can result in an expensive fine.
Another good tip is to have an emergency winter kit in your car, especially if you have to drive to the mountains from a major city or you plan on taking a trip somewhere far. Extra food, water, and blankets are just a few helpful items to have in your vehicle.


12. Pick up your pass early or have it mailed to you- Avoid the early season lines at the ticket office by having your pass mailed to you or by picking it up early in the morning. Also picking up your pass the night before can speed up getting to the chairlift sooner. Check the ticket office hours before you pick up your pass!

13. Stay Hydrated- As you get use to riding again, make sure to drink plenty of water while on the mountain. There’s drinking fountains at every restaurant bathroom area. I also like to carry a small Hydrapak when riding and throw it in the pocket of my jacket.


14. Bring Snacks- It’s always good to pack a few snacks when riding. Nothing wrong with grabbing a meal at the resort, but packing a couple Kind Bars will save you money for the day. Chairlift snacking is one of my favorite things to stay fueled for the day.

15. Sunscreen- It’s important to protect your skin and lips when riding! Especially at higher elevations, the suns rays will be more intense. I like Sun Bum out of California because their stuff isn’t greasy. Just apply to your skin 15-20 minutes before riding. Also don’t forget chapstick with SPF in it. Salt and Stone is my favorite right now.

16. Zip up your jacket before you get off the lift- Often overlooked, but with early season, temps can warm up and sometimes you unzip your jacket at the base. The key is to make sure you zip it up on the lift or before you get on the lift! Any loose gear can get caught on the chair which is not a fun experience when getting off at the top.

17. Double check and make sure you have everything before you drive to the mountain- Especially if you live far from the mountains, double and triple check that you have everything! I like to use the Burton Rider Bag to keep everything in one place. You can store your outerwear, gloves, and goggles in the top part of the bag and your boots in a separate compartment on the bottom.

18. Ride with friends and have fun-I ride solo a lot, but riding with friends will always be more fun. From the chairlift banter to learning new tricks from each other, it’s always a good time. I also recommend riding with people who are better then you because it allows you to progress much quicker and learn new tricks as well as improve your style.

19. Layer properly based on the temperatures and avoid Cotton if possible- This one is one of the most important tips, not just for early season but the entire season. Check the weather, but most importantly pack extra layers just in case. For really cold days down is the best because it is lightweight and packable. There is real down and synthetic down. Real Down is lighter and more packable. It loses it’s loft when it gets wet, but will last longer if taken care of. Synthetic down will still keep you warm if wet. If you run warm, a mid layer is a great option under a jacket or pant.
For warmer temps I would recommend lightweight base layers. Avoid cotton because it will not wick moisture or breathe which will end up trapping sweat and making you colder.

20. Know where to park your vehicle- Knowing where to park, especially the free lots, can save you wasted time driving around and more time spent riding. If you get on the resorts website there should be a link for parking. Some resorts don’t charge for parking at all, Some have a mixture of both, and some have a carpool rule where if you have multiple people in the vehicle, parking is free.
It also helps to review the public transportation which can typically be found on the towns website that the resort is in. Public transportation can take you to the mountain and is usually free.

21. Book your lodging early for trips- If you plan on taking a trip somewhere, especially a more popular destination such as Breckenridge Colorado, look into lodging options early! Lodging can book up quick, so in order to get the best room or place start planning and researching ahead of time. The only reason to really book your lodging last minute is if you are chasing a storm (looking to book a trip based on potentially a lot of snow).


So that’s it for early season snowboard tips. If you have anything to add or questions leave a comment below! Also, if you want the latest updates on outdoor content, subscribe to our email newsletter below. Thanks for reading the blog and I’ll see you all on the next post!

Snowboarding on your first Day, Top Tips and Advice
Alright so you’ve thought about giving snowboarding a try or you’ve been considering switching over from skis for a day to see what it’s all about. One of the most rewarding activities you’ll get into is snowboarding (also pretty challenging at times). Riding a snowboard will teach you a lot of life lessons through..
Disclosure: When you buy something through the Affiliate product links I have created below, I earn a small commission. I only promote products and companies I support as well as believe in.
I remember the first time I went snowboarding, Mad River Mountain in Ohio. All my friends were signing up for middle school ski club and so of course my brother and I signed up too. Buying used equipment at our local skate/snowboard shop Sunsports, we were set up to go every Tuesday and Thursday after school. After a day or two of learning how to make it down a run, I was hooked. Something about riding down the mountain on a snowboard, it’s different, a freedom like feeling. No coaches telling you what to do or how to do it, just you, your board, maybe some friends, and the mountain (or Hill lol).So maybe you’ve thought about giving snowboarding a try or you’ve been considering switching over from skis for a day to see what it’s all about. One of the most rewarding activities you’ll get into is snowboarding (also pretty challenging at times).
Riding a snowboard will teach you a lot of life lessons through your successes and failures on snow.! It’s also a great way to meet other like minded people who want to spend time outdoors in the winter. Who knows, you might even meet some of your lifelong best friends through it. In this post I’ll be going over the basic fundamentals to get started with snowboarding, what gear to wear, renting equipment, and lastly what you can expect. Alright lets gooo.
What should I wear
I’m not going to lie, snowboarding gear is EXPENSIVE. However, there are ways to make it affordable if you’re not looking to spend a whole lot of money. Consignment shops, holiday sales, sales on previous years gear, and getting a job at a ski resort (resort employees get discounts on winter gear) are all ways to save money on snowboard gear. If you’re unsure on if you’ll like snowboarding or not I would go the route of cheaper before you invest a bunch of money into the sport. Below I listed the items you’ll need for your first day.


Jacket- This needs to be waterproof and have some warmth. If you’re starting out, it’s better not to get too technical on gear and to have something that will keep you warm as well as dry on the mountain!
Snow Pants- These also need to be waterproof and warm. A good pant to start with is Burton’s Cargo pant. They make this pant in tall sizes and also short sizes. The Burton women’s Society Pant is also a great starter snow pant.
Goggles- You’ll need these to protect your eyes from snow, wind, and sun. Oakley, Anon, Smith, and Giro all make great goggles for someone starting out.
Gloves- Gotta keep your hands warm when on the mountain or strapping into the board. Hestra and Burton will offer some great options that last longer then one season. If you don’t want to spend too much, Walmart or Amazon will sell more affordable options that will also keep your hands warm for the day.
Helmet- The majority of people wear a helmet on the mountain and rental shops will include them in your rental package. Although not a requirement, I would highly recommend wearing one.
Ski socks- Stay away from Cotton! Anything that has wool or polyester will be able to wick moisture and keep your feet warm!
Base Layers- Wear these under your pants and jacket. Again stay away from anything cotton! Burton will make some of the best base layers. Since they offer a lot of options, I would recommend a mid-weight option.


Should I use protective equipment other then a helmet
It doesn’t hurt to wear protective equipment with being new to snowboarding, Burton makes wrist guards, knee pads, and impact shorts
Sizing
You’ll want the board to be shorter as it is easier to turn. Boots should be snug, about a half size down from your normal tennis shoes. Bindings will have a boot size range you’ll need to follow. Binding sizes come in Small, Medium, and Large.
Key Snowboard Terms
Stance Width- The width between your feet on the snowboard.
Bindings- What keeps your feet attached to the snowboard.
Binding Angles- Bindings will have numbers on them that correlate with how each foot is angled on the snowboard. This is a personal preference for every snowboarder.
Regular- Riding down the mountain with the left foot forward
Goofy- Riding down the mountain with the right foot forward
Base- The bottom of the snowboard
edges- The sharp metal part that goes around the entire snowboard
Topsheet- Top of the snowboard
Straps- The parts that go over the snowboard boot, locking in the boot to the binding.
Highback- A Part on the binding that supports the back of the snowboard boot.
Channel- A way to mount snowboard bindings to the board using only two points of contact for each binding.
4 Hole pattern- A more traditional way to mount snowboard bindings to the board using 4 points of contact for each binding
Heelside- Edge of the board where the heels of your snowboard boot are
Toeside-Edge of the board where the toes of your snowboard boot are
Skating- Pushing the snowboard with your back foot to get from point a to point b. Your lead foot will be strapped into the binding when doing this.
Stomp Pad- a grippy pad that is placed in between the bindings towards the middle of the snowboard. It helps with stability when getting on and off a chairlift.
Can you rent gear for Snowboarding
Yes! However for most places you’ll only be able to rent the board, boots, and bindings. Some shops will rent the jackets and pants, but I have found those places to be few and far between. Goggles and gloves you will always have to buy.
I recommend renting an LTR set up for your first day. LTR stands for Learn to Ride. The set up will be much softer and more playful, allowing you to learn the basic fundamentals of snowboarding. For busier times of the ski season make sure to, make a rental reservation in advance through the ski resorts website!


Is Step ON worth trying on my first day
You can, however, since Step on Boots and Bindings are more performance oriented the flex will be stiffer. A stiffer set up makes it harder to initiate a turn on a snowboard if you have never done it before. I think LTR is still the way to go on your first day. If you like snowboarding after trying it, Step Ons are great for getting in and out of a board without having to deal with straps.

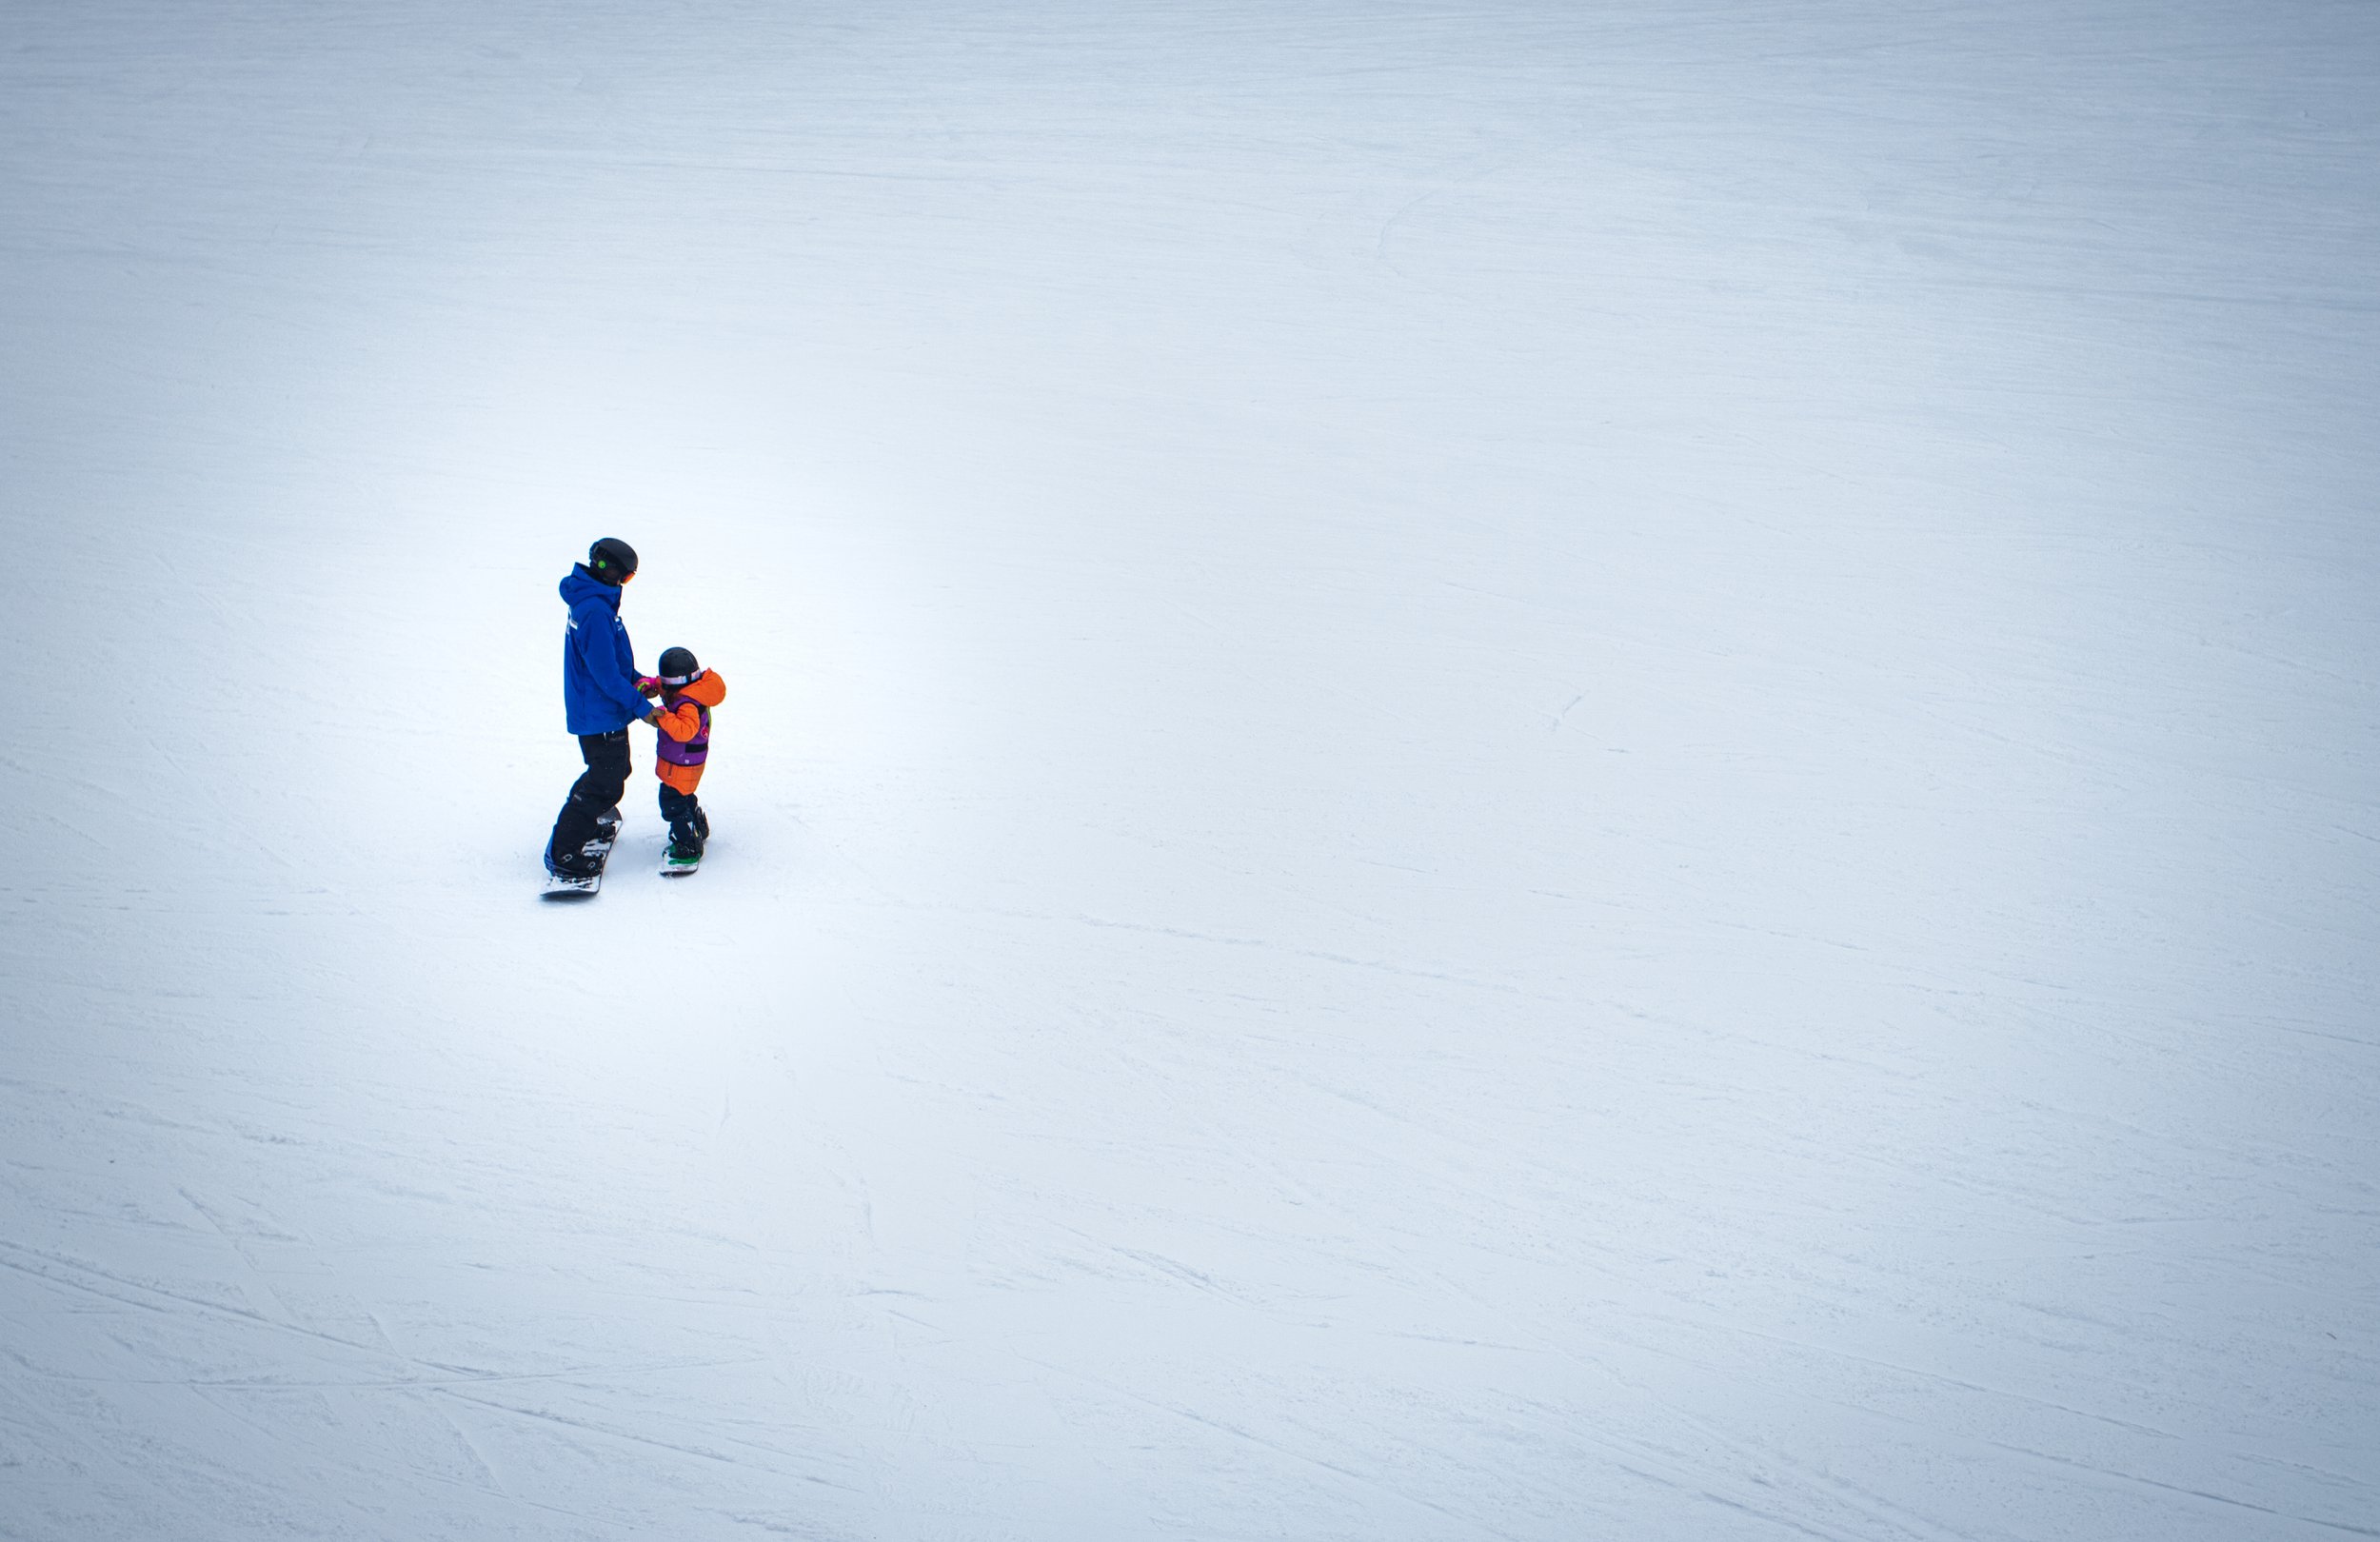
Do you recommend taking a lesson
I definitely recommend taking a lesson on your first day. Resorts will typically offer half day, full day, and group or private lessons. They will be able to teach you the basic fundamentals of snowboarding as well as how to use your snowboard gear. However! Lessons can be expensive so hopefully this guide will help you as well.
How much is it to snowboard on the mountain
Ski resorts require a lift ticket or season pass to be able to snowboard on their mountains. You can pick these up at the base of the resort. If you plan on snowboarding for more then 3 days, I would recommend buying a season pass ahead of time (spring and summer will be the cheapest prices on passes for the following season). To save money and time, purchase your lift ticket(s) ahead of time online at the ski resorts website. Resorts also only sell so many ski passes, so the earlier the better when buying a pass.
Depending on the resort and location lift tickets can cost anywhere from $50 a day to over $200 a day.

Where should I start once I have all of my snowboard gear
Alright so you picked up your gear, and you are all set up for your first day on the mountain or hill. I would say 99% of ski resorts have a beginner area where you can learn the basics. I wouldn’t even try to get on the ski lift until you have tried the beginner hill, which will more then likely have a magic carpet. Look on the trail map or talk to someone at the ticket office to find out where the beginner area is!

What should my binding angles be set to
I would say +9 and -9 degrees for your bindings is a good start with the stance centered in the middle of the board or at reference. Each binding should be angled out slightly. Your board will also have reference points for the stance so you know if it is centered. It’s also helpful to have someone at the shop where you bought the board at, to set it up. Your bindings will have numbers on them in increments of 3, look for the 9 on both bindings. If you are really short, bump the stance width in and if you are really tall, bump the stance width out.
For rentals, the shop will set the board up for you, but it doesn’t hurt to double check how they set the board up!

How do I get into the snowboard and decide which way to ride down hill
With snowboarding you’ll either ride down the hill right foot forward or left foot forward. There’s a number of different ways to find out which way you slide sideways down the mountain. Examples include, what foot you use to kick a soccer ball with, which foot goes first if someone were to push you, and the list goes on. However! I would say the best indicator is.. the foot you use to strap into the board first, will more then likely be the lead foot used to go down the mountain!
The easiest way to get into your bindings, unless you have Step-Ons, is to sit down. Clear the snow off your boot and binding and start to crank down the toe and heel buckles. Once both feet are strapped in, see if you can pop up off the ground and balance yourself over the snowboard. If standing up is easier for you try that instead when strapping in.


What next once I’m strapped in
The first run will probably be challenging and be prepared to fall! Falling is part of the learning process. Your main goal on the first day is to get a sense of balance between your snowboard and the snow, understanding somewhat how the board turns.

Beginner Tips to help with getting down the hill or Mountain
You’ll want to first learn how to stop on your heel edge. Do this by putting pressure on the heel edge with both feet as the board slowly moves down hill. You can go straight and then stop with your heel edge once you get comfortable. Please note, this will take some practice! Another way to practice getting comfortable stopping heelside is to ride down “falling leaf”, meaning you go heelside the whole way down the run, while slightly going forward with your front foot then going forward with your back foot.
Once you start to feel comfortable with your heel edge try see if you can go toe edge. You’ll do this by putting pressure on the toes of your snowboard boots and toe edge of the board, while looking downhill. Again, this will take some practice. If you can’t get this on the first day, keep trying!
The key to any board sport is to try to get to a place where you have a good center of gravity and balance. To do this flex the knees a bit and try to maintain an athletic stance. Note, you don’t need to be athletic to snowboard, but try to understand that being centered over the snowboard will drastically improve your day and prevent falls.

Skating on your Snowboard
This is where you push with your back foot to get from point A to B. You don’t really need to learn this on Day 1, however as you progress and start to ride a chairlift it’s important that you know how to do this! Practice at the base of the mountain on a flat surface. It helps to have a stomp pad in the middle of your board for balance and stability.

Linking “S” Turns
S Turns are where you essentially make an S in the snow as you ride down the mountain. This is the last beginner fundamental in snowboarding, so if you're able to do this on the first day, that’s pretty amazing. Combine the heel edge and the toe edge together to link turns which will allow you to ride down the mountain more smoothly. The key to doing “S” turns is to look in the direction that you want to go.


How to get on the Chairlift
If you feel comfortable enough to ride the chairlift on your first day, go for it! The easiest way to get on is to skate up to the line and then look behind you as the chair is approaching. Take a seat and when everyones ready, put the bar down. Either rest your board on the footrest connected to the bar (some chairlifts only have the bar) or put your foot under the heel cup of your binding (see photos below).


How to get off the Chairlift
Once the lift approaches the top, lift the bar up, put your back foot in the middle of the board, push off the seat cushion, and ride straight. Try to be graceful when doing this and avoid getting tangled with other people and your board!


Where to buy a snowboard
Hopefully you caught the bug and want to buy a set up! If so, welcome to the Dark Side as they say. There’s a number of different places to buy a board, boots, and bindings with the best being your local snowboarding shop! Shop employees will be the most knowledgable and they’ll be able to point you in the right direction based on your size, skill level, and type of snowboarding you are interested in. To find the nearest shop, google “local snowboard shop.”
If you don’t live near a snowboard shop, then your next best option is online. Most online sites will have tools and customer service that will be able to assist you in buying a set up. Below I listed a number of great local snowboard shops and their location.
Darkside- Vermont
Tribute- British Columbia
Underground- Breckenridge Colorado
Gravity- Copper Mountain Colorado
The Boardroom- Ellicottville New York
Wave Rave- Mammoth Mountain California
Radio Boardshop- Aspen Colorado


That’s it for how to enjoy your first day on a snowboard. Just remember snowboarding is challenging at first, but stick with it and you’ll have a new activity and a way to spend time outdoors! If you have any questions or comments, please leave them below! It’s always cool to connect with people:) Interested in taking a snowboard trip? Check out Steamboat, an authentic mountain town with awesome terrain (including beginner), amazing restaurants, and of course natural hot springs.

Meet Jeremiah
Growing up, I loved being outside. I took a lot of cool trips with my family, whether it was camping, going to the beach, road trips, and national parks. Even though I didn’t fully appreciate those experiences at the time, as I got older I started getting more into the outdoors and traveling, reconnecting with my past. The feeling of traveling or going somewhere new always seems to give a sense of excitement or adventure.
Snowboarding and boardsports in general have been a passion of mine for over 20 years. I always loved the culture that came with it; from local retail shops to magazines and videos, to riding with friends as well as geeking out on the latest gear, it’s all part of the experience. After working in snowboard/outdoor gear shops for the past decade along with traveling to different outdoor places, I decided to put all of that experience in digital form to inspire and connect with other people.