
Telluride Colorado, Hiking and Backpacking the Blue Lakes trail
Disclosure: When you buy something through the Affiliate product links I have created below, I earn a small commission. I only promote products and companies I support as well as believe in.
Looking for easy trail navigation? Check out Alltrails; an app with trail reviews, navigation, and trail stats. Predownload trails in case of no service.
So you’ve gotten your backpacking gear and your looking for beginner to intermediate trails to do an overnight backpacking trip. One of the best places to start is Colorado, known for it’s immense amount of hiking trails throughout the state. Within Colorado are the San Juans, unlike any other mountain range in the state. Not too far from small towns Telluride and Ouray is the Blue Lakes trail, an amazing scenic hike with 3 alpine lakes at the top. It’s a doable day hike, but definitely worth backpacking camp gear and food in for a couple nights. In this post I’ll be going over how to get to the Blue Lakes Trail, what to pack, trail details, and what to expect. Alright lets do thisss.
How to get there
Drive through the Southwest part of Colorado and turn onto a dirt road (County Road 7) all the way to the trailhead for 4.3 miles. You don’t need AWD, but it helps. There will be a few bumpy areas, but overall the road isn’t too bad. Below I listed times and distances from major areas with Telluride having the closest airport.
Denver- 6 hours/336 miles
Telluride- 1 hour and 15 minutes/44 miles
Summit County- 5 hours/268 miles
Vail- 4 hours 15 minutes/240 miles
Durango- 2.5 hours/95 miles
Flagstaff- 7 hours/378 miles

Best time of year to backpack this trail
Mid June-Late September depending on snowfall and weather!
Can you park overnight for free
Yep, no overnight permits needed to park at the trailhead. Since the trail does get heavy usage in the summer, I recommend getting to the trailhead earlier to grab a parking spot.

Does the Blue Lakes Trail require permits to hike and camp
As for now NO, However! there is a proposed permit system by the Forest Service for future use going on right now in regards to how many people can hike the trail in a given day as well as camp overnight in a given day.
What to Pack
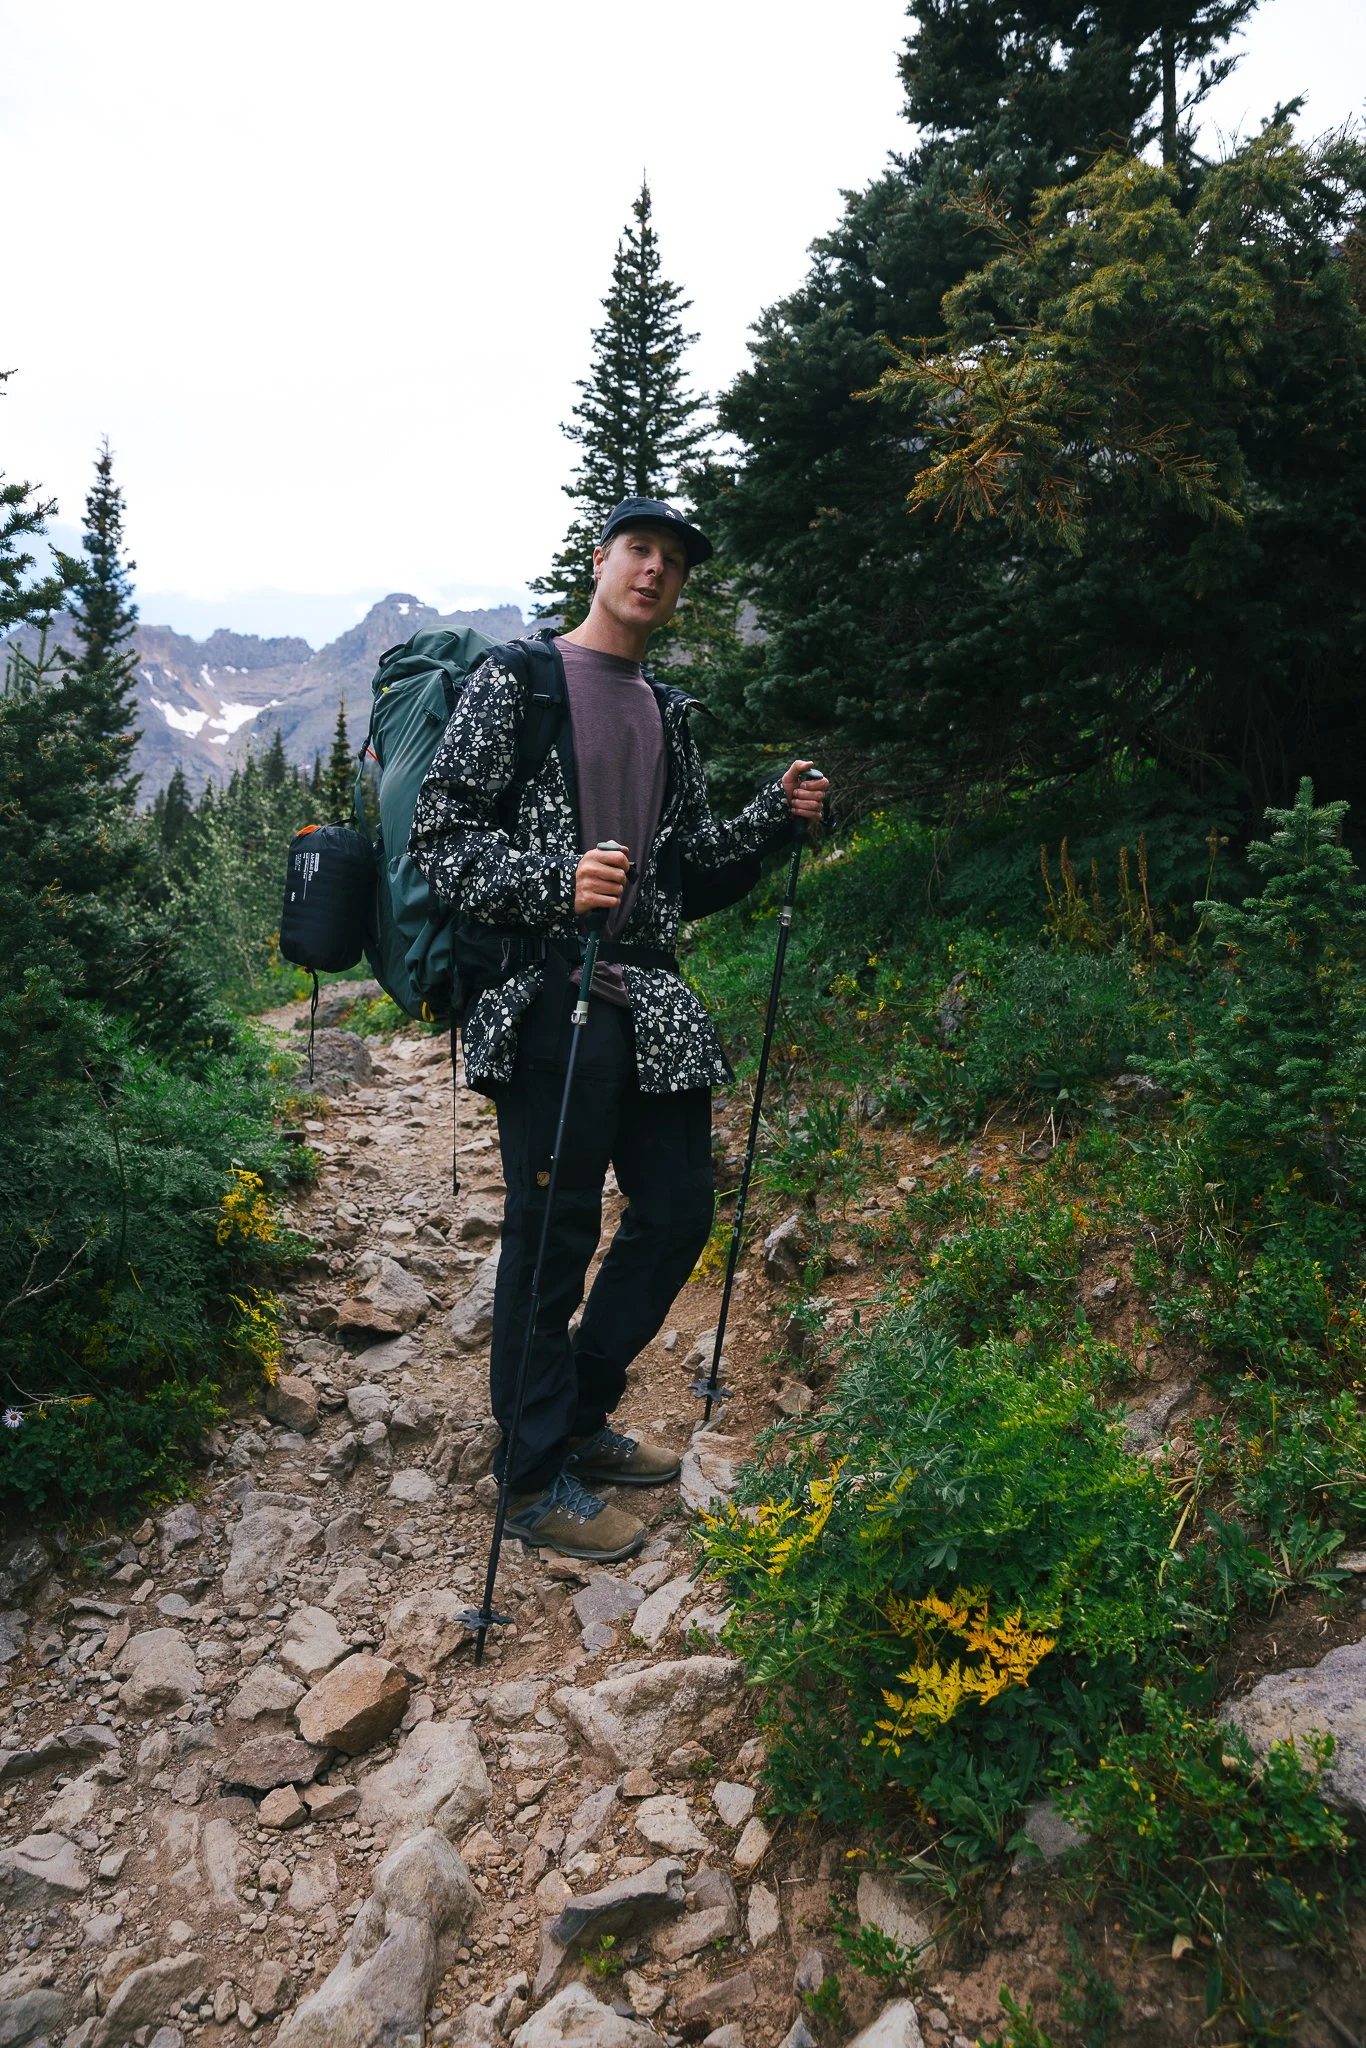
If your new to backpacking there’s a number of items I would recommend having to make the camping more enjoyable. The key with packing your camp gear into a spot is to keep the pack as light as possible. I listed the necessities below. I use Mountain Hardwear for my camp gear, however brands such as Nemo, North Face, Marmot, and REI all make great backpacking gear as well.

Lightweight sleeping bag/Sleeping pad- There’s two types of sleeping bags, real down and synthetic down. Real down is more lightweight and packable while synthetic will hold its loft if it gets wet. I like real down because of the weight. It also can last up to 30 years if you take care of it. You’ll also want a backpack specific sleeping pad. Some people use foam, but I personally like REI sleeping pads.
Water filter and water bottle- Use a filter for clean water from a natural water source. REI will sell these along with packable water bottles.
Hiking boots/Socks- A pair of hiking boots with good traction and support is a must along with breathable socks that dry quick and wick moisture. Smartwool make my favorite hiking socks.
Backpacking pack- I use a 70L Mountain Hardwear pack to carry everything I need, but a 50-65L pack will work great too. Make sure to buy a backpacking specific pack and purhase a pack that works best for your body size.
Lightweight tent- Make sure that it is specific to backpacking
Pocket Rocket Burner and Packable - A pocket burner is what you’ll cook food on and it’s very lightweight and packable. Also needed is fuel, utensils, and a stove to cook everything.
Headlamp- Very useful, especially in areas that don’t allow campfires.
Power Bank- Keep electronics charged up
Rain Jacket- Lightweight and waterproof is the name of the game. Burton AK rain jackets check both of those boxes.
Down Jacket- Once the sun goes down in the mountains at a high elevation, it can get cold, even in the summer. Burton’s Baker down is perfect for summer hiking missions, with it being lightweight and packable.
Wilderness Wash- Get this at an outdoor shop or a local REI store. Works for handwashing, showering, and washing dishes.
PackTowl- A lightweight camping towel
Hiking Poles- These might seem kinda whack, but they work great for rocky hikes and maneuvering on trails
Bug Spray- Summer is prime for Mosquitoes, gotta have bug spray
Bear Spray/Bear Bag- Keep food sealed up and at a distance from camp.
Alltrails app- I use this for app trail reviews, info, and navigation. Download the trail ahead of time for the best navigation!

What to Expect
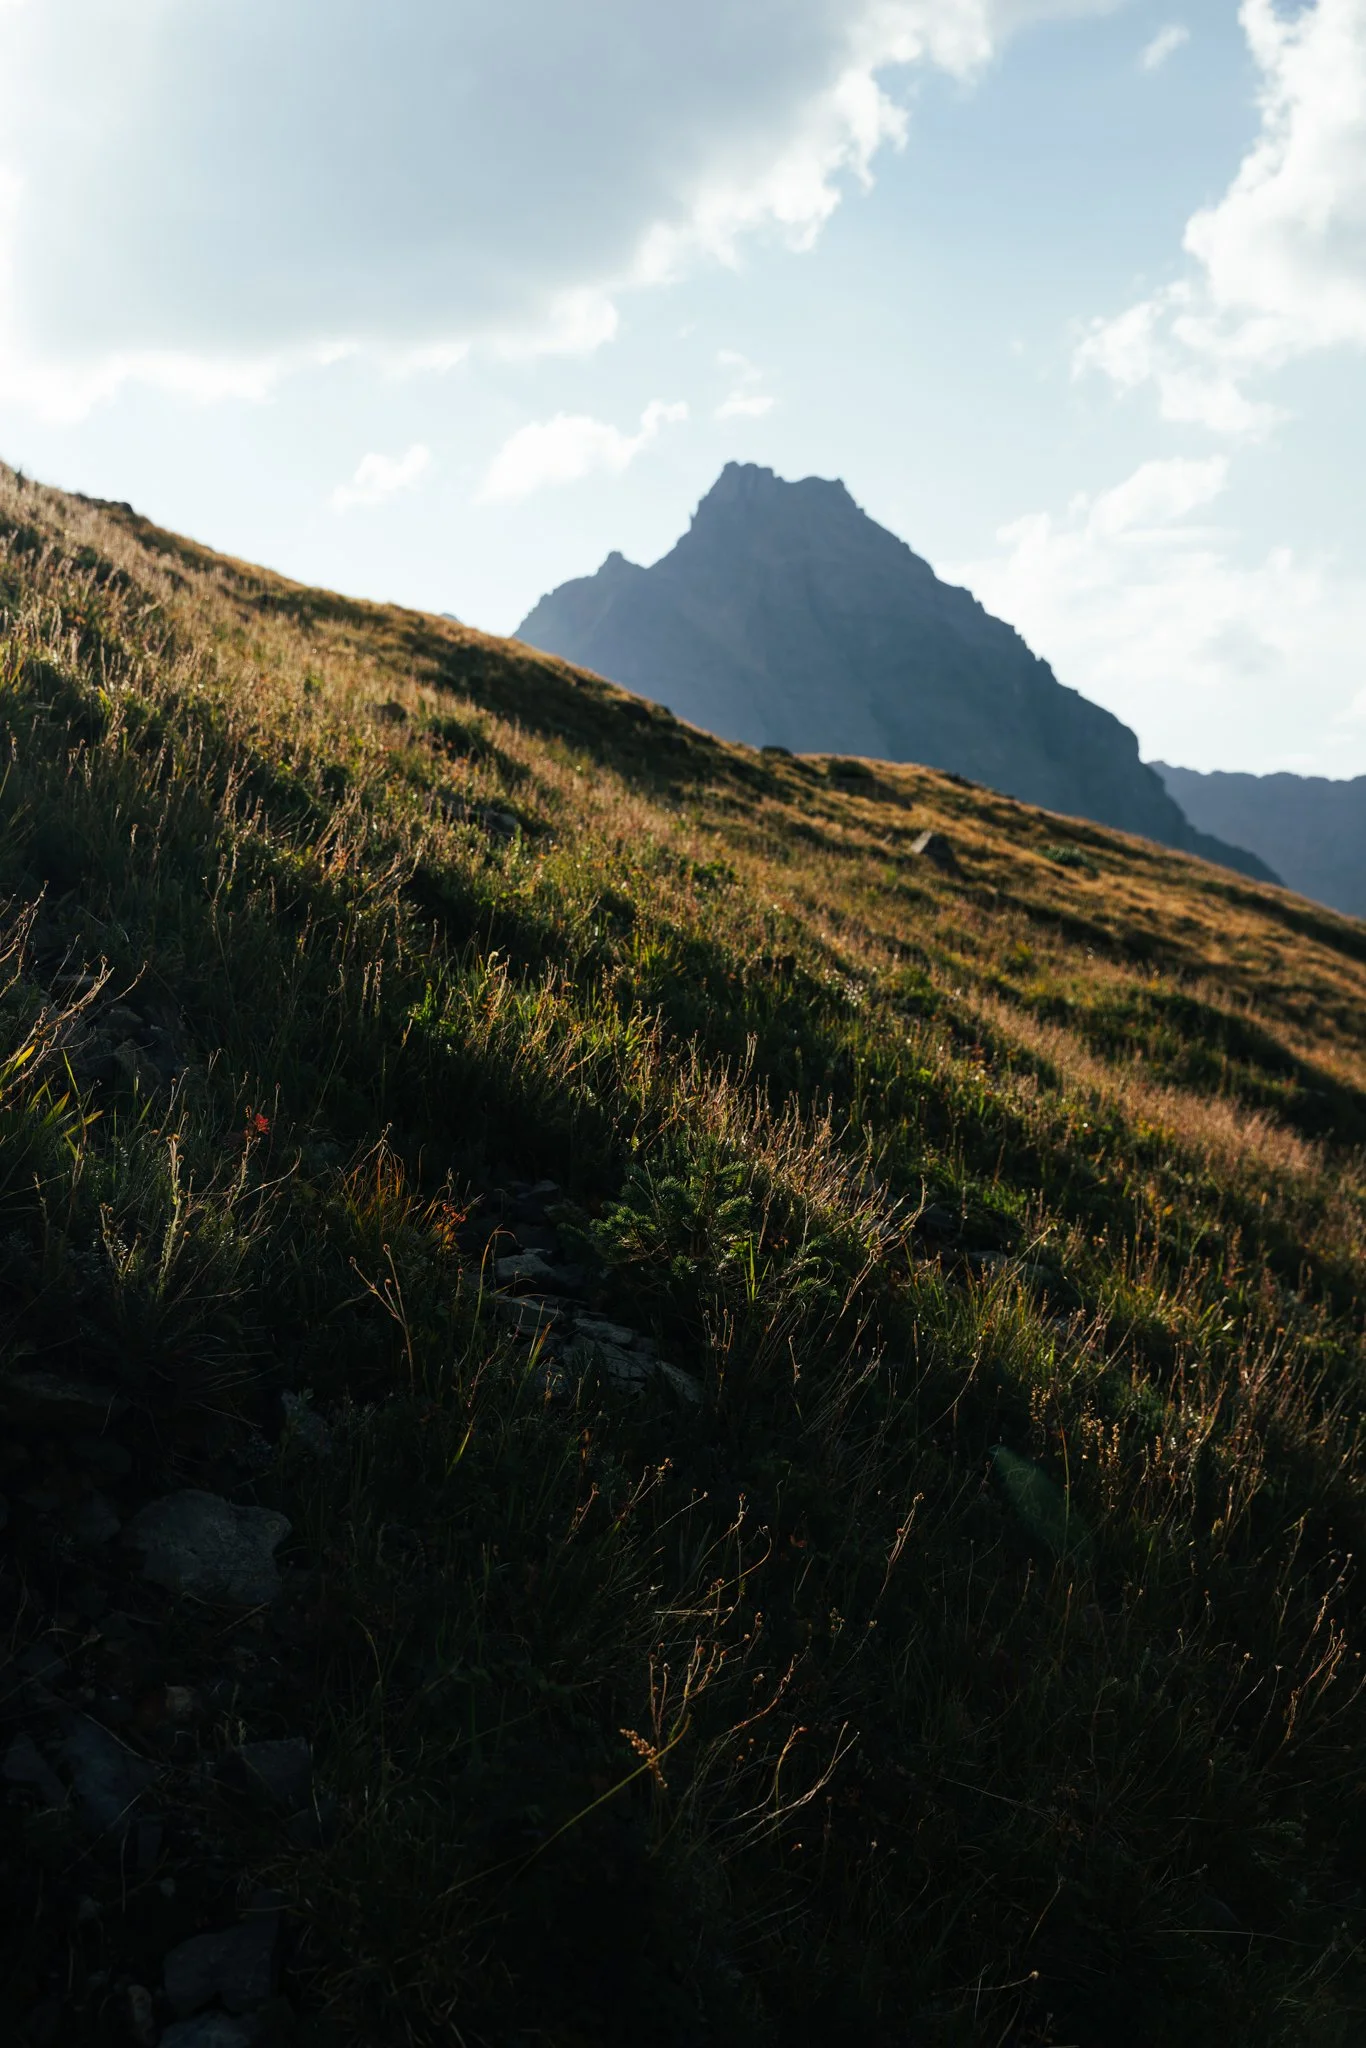
The trail is great if you’re not looking to do anything too exteme, but still want awesome views of the surrounding terrain. This hike is also a doable day hike. Expect some elevation gain as you make your way to the lower lake as well as the middle and upper lakes. One of my favorite things about backpacking this trail, was making dinner up near the top lake for Golden Hour. There wasn’t anyone around and the golden sun shining on the San Juans was pretty epic. Check out the trail details below that I found on Alltrails.
Elevation Gain- 2,509 feet
Trail Type- Out and Back
Dogs Allowed- Yep and must be on leash in some areas
Mileage- 8.7 Miles
Time- Average of 5 hours and 8 minutes
Beginner Backpacking Tips
If you’re new there’s a few things to keep in mind to make the adventure more enjoyable. I’m still learning, but here’s a few things I’ve learned from friends and by doing.
Less is more- Try to pack only what you need for the trip. No more then one other pair of clothes to change into. People backpacking will typically just hike and wear one set of clothes for the entire adventure.
Keep the waist part of your pack tight as you want most of the weight of the pack to be carried on your hips not shoulders.
Be prepared for weather- See packing list above for details.
Plan ahead- Make sure to plan your route ahead of time and look at a map before you set out on the trail, majority of high alpine environments won’t have cell service.
Be prepared in case of an emergency which includes having a first aid kit. It also is helpful to have a Garmin inReach in case you need to message or contact anyone.
Pack food and meals that are easy to cook and cleanup. REI will have a number of backpacking meals that only require boiled water. Snacks such as beef jerky, trail mix, and trail bars are also great food items to bring.
Camp and use the bathroom at least 200 feet from water and dig a hole if you are going to the bathroom. They sell backpacking shovels at any outdoor store.
Pack out what you packed in


Trail Details
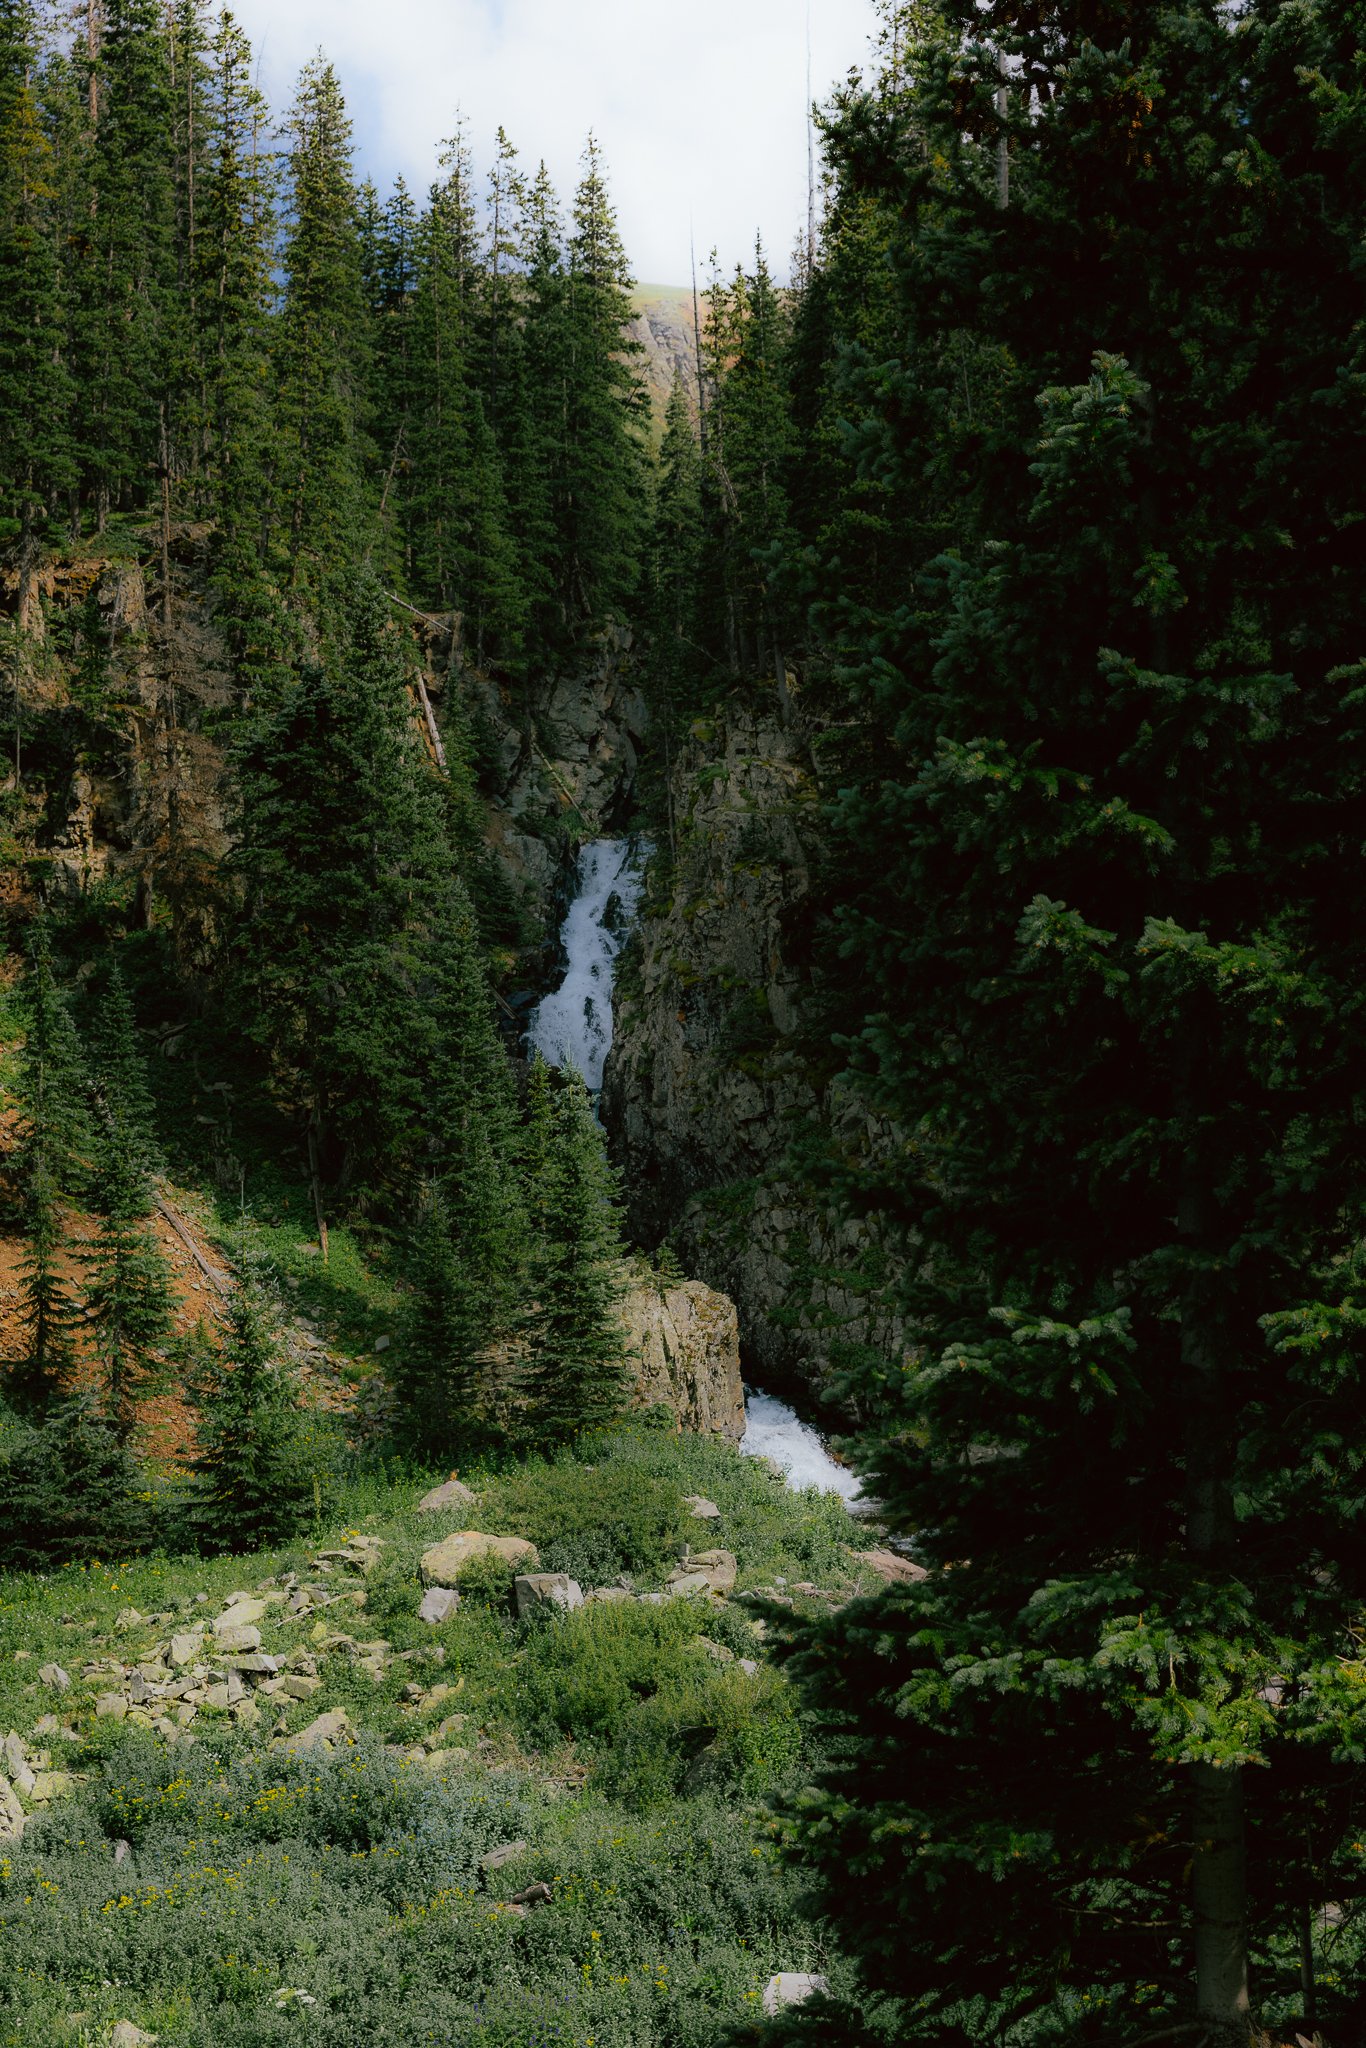
Once you’ve parked and grabbed your pack, you’ll notice signage for the start of the trail right by the bathroom. You’ll be entering the Mt Sneffels wilderness part of the Uncompahgre national forest. The first part of the hike will be through a wooded area with a good amount of elevation gain (about 2,300) before it starts to level out near the lower lake. As you get closer to camp there will be a waterfall on your left.


My friends and I set up camp at the lower lake, as there were a number of spots going around it. Keep in mind that you must be at least 200 feet away from the lake and that there are No campfires allowed.

There is also a great view of the lower lake if you take the trail that goes to the upper lakes. Use your All Trails downloaded map for help with navigation from the campsite.


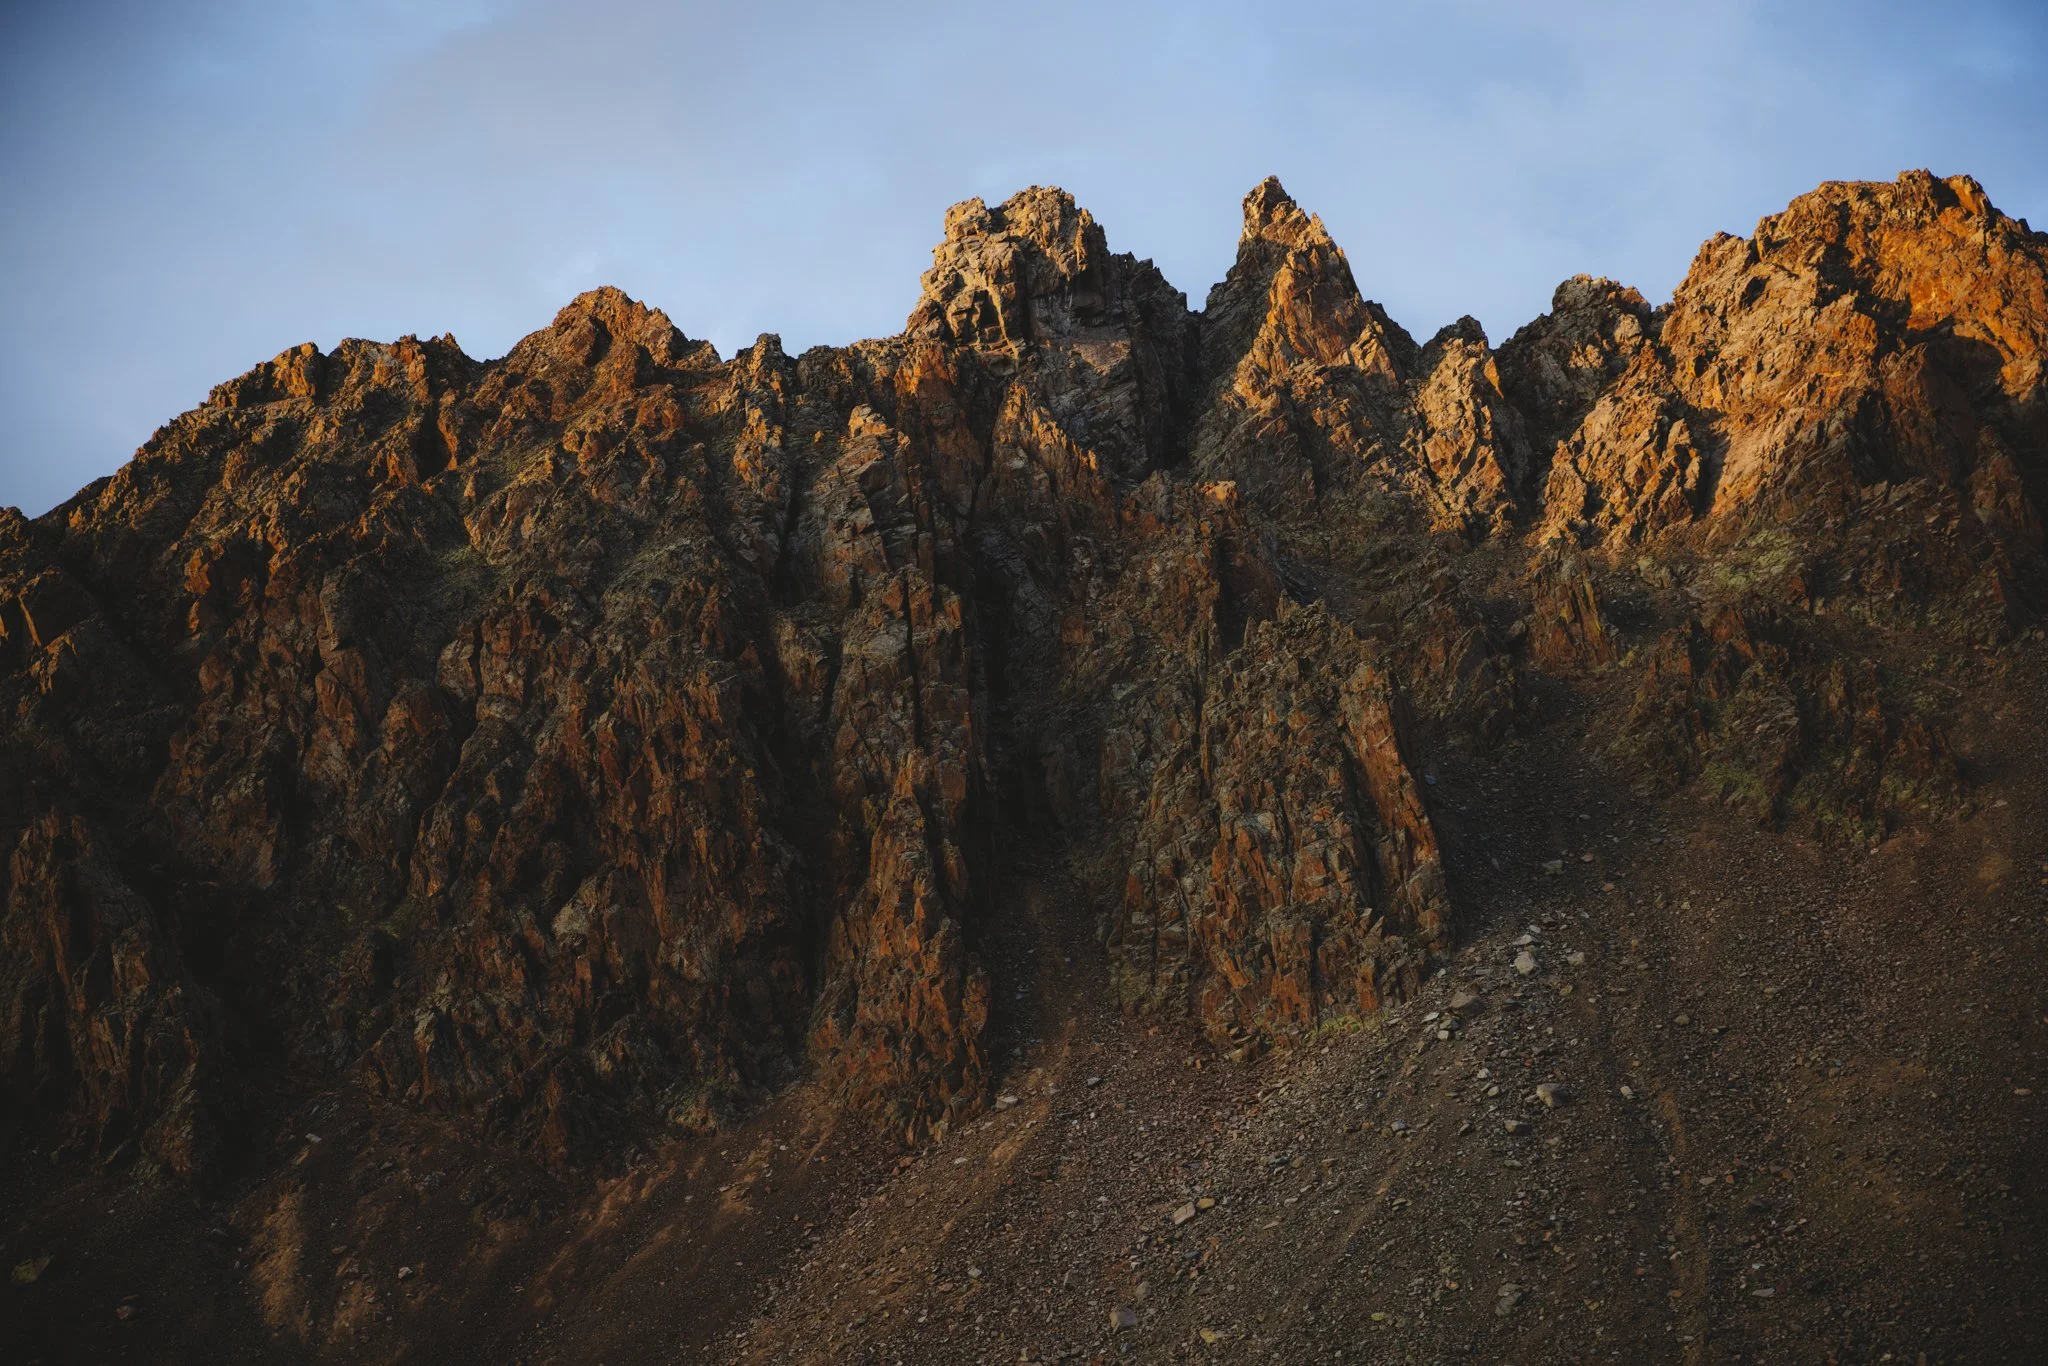
Once you have camp set up, I recommend grabbing your dinner, utensils, your stove and heading up to the middle and upper lakes to catch the sunset while eating a good camp meal (weather depending). As you hike up to the top lakes, notice Mt. Sneffels to the left. This is a well known 14er in Colorado with an elevation of 14,159 feet. The Blue Lakes trail is one of the ways to hike to the peak of this 14er and I noticed couple of people heading up to do it with helmets on the following morning
The views when hiking to the upper lakes are some of the best I’ve seen thus far in Colorado, so pack a camera if you got it or use your cell phone for some amazing photos and enjoy the surrounding landscape of the San Juan mountains


Can you fish in the lakes
Yep, just make sure your Colorado Fishing license is up to date. This can be purchased/renewed online or typically at a local fly fishing shop

Should we check out any of the surrounding towns and the Million Dollar Highway
As mentioned above there will be three small towns close to the trailhead; Ouray, Telluride, and Ridgeway. All three have great restaurants, outdoor shops, hot springs, and lodging if you wanted to clean up for a night or two and chill before heading home. It’s also fun to hang out in either town for the afternoon and grab a bite somewhere after doing a backpacking trip.


Ouray will be a little more low key then Telluride with the Million Dollar Highway right outside of town. For a quick bite I recommend Maggies Kitchen. Inexpensive Burgers and fries that are pretty amazing. Drive south out of town and you’ll be on the infamous Million Dollar Highway. This highway goes from Ouray to the town of Silverton for 25 Miles, with the peak being at the top of Red Mountain Pass. I took it to the top of the pass (13 miles) from Ouray and then drove back. There’s pull-offs along certain parts of the highway for scenic views, just make sure to be careful driving this road as there are no guard rails with steep drop offs.


Looking for more Colorado adventure? Check out Leadville Colorado, a small town with lots of outdoor recreation. If you have any questions or information to add, please leave a comment below! It’s always cool to connect with people on here. Thanks for checking out the blog and I’ll see you on the next post.